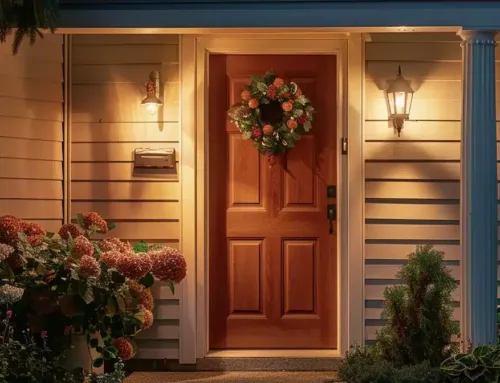
Easy DIY Outdoor Lighting Projects
Outdoor lighting can transform your landscape, creating a magical atmosphere without the need for professional landscape services or a hefty credit card bill. From solar-powered mason jar luminaries to LED-lit pathways, these easy DIY projects will flood your outdoor spaces with warm, inviting light. Whether you’re looking to illuminate a garden wall or add a festive glow to your patio, these simple yet stunning lighting ideas offer endless possibilities for creativity and ambiance. In this article, we’ll explore four fun and budget-friendly outdoor lighting projects you can tackle in a weekend.
Crafting Solar Mason Jar Luminaries for Your Garden

Solar mason jar luminaries offer a charming way to illuminate your garden while adding a touch of rustic elegance. These DIY light fixtures combine the simplicity of mason jars with the convenience of solar-powered LED lamps, creating enchanting lanterns that enhance your outdoor space. By transforming ordinary jars into glowing landscape services sconces, you’ll craft unique landscape lighting that’s both eco-friendly and budget-conscious. Let’s dive into the process of assembling these delightful luminaries, starting with gathering materials and putting together the solar components.
Gather All Necessary Materials and Tools
Before you begin crafting your solar mason jar luminaries, gather all the essential materials and tools for your project. You’ll need mason jars, solar-powered LED light lids, wire for hanging, and any decorative elements you wish to incorporate into your garden or patio lighting design.
Ensure you have the necessary tools on hand, such as pliers for bending wire and scissors for trimming decorative elements. By preparing everything in advance, you’ll streamline the creation process and be able to focus on transforming your landscape with these charming, eco-friendly alternatives to traditional chandeliers, while also considering accessibility for easy installation and maintenance.
Assemble the Solar Light Components Into the Jars
Carefully insert the solar light components into the mason jars, ensuring a snug fit to prevent water infiltration. Unlike a ceiling fan or other interior design elements, these outdoor lights require proper waterproofing to withstand the elements, so pay close attention to sealing any gaps between the lid and the jar.
Secure the solar panel and LED light to the jar’s lid, making sure they’re positioned for optimal sunlight exposure. While these luminaries don’t require complex wiring like low voltage systems, you’ll want to double-check that all connections are tight and secure before hanging your new garden lights.
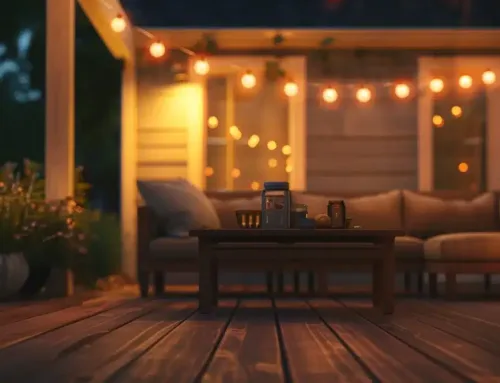
Making a Festive Fairy Light Project

Transform your outdoor space with a magical touch using fairy lights. This simple yet captivating project allows you to create custom lighting designs that add charm and visibility to your deck, driveway, or garden areas. Unlike traditional bronze fixtures, fairy lights offer energy-efficient illumination and flexibility in design. You’ll learn how to select the right lights and power source for your needs, then craft eye-catching patterns or shapes that bring your outdoor vision to life. Whether you’re aiming for a subtle glow or a dazzling display, this DIY project lets you personalize your outdoor lighting with ease.
Choose Your Fairy Lights and Power Source
Select fairy lights that suit your outdoor space and complement your existing decor. Consider factors like bulb size, color, and spacing when choosing a brand. For powering your fairy lights, you have options ranging from battery-operated sets to solar-powered strings, or even low-voltage systems that might require an electrician’s expertise.
Think about where you’ll place your fairy lights—whether draping them along a porch railing, wrapping them around trees, or creating a pendant-style feature. The location will influence your power source choice and the length of light strings you’ll need. Here’s a quick guide to help you decide:
- Battery-operated: Best for short-term use or areas without easy access to outlets
- Solar-powered: Ideal for sustainable, hassle-free lighting in sunny spots
- Plug-in: Perfect for permanent installations near power sources
- Low-voltage systems: Safest option for extensive outdoor lighting projects
Arrange Lights in Your Desired Pattern or Shape
Create your desired pattern or shape with fairy lights, considering the layout of your outdoor space and the focal points you want to highlight. You can wrap them around trees, drape them across pergolas, or form shapes like stars or hearts for a whimsical touch. Remember to account for daylight hours when planning your design, as some patterns may be more visible at night than during the day.
Experiment with different arrangements to find the perfect look for your outdoor area. Consider using a remote control for easy operation, especially if you’re placing lights in hard-to-reach areas. This feature can enhance the customer experience of your outdoor space, allowing you to adjust the lighting as needed for various occasions or to impress guests with a retail-worthy display.
Designing Unique Tiki Torch Planters for Evening Glow

Create a captivating ambiance in your outdoor space with DIY tiki torch planters. This project merges the warmth of flame with the beauty of greenery, offering a unique solution for lighting your garden, patio, or stairs. You’ll transform ordinary planters into eye-catching fixtures that provide both illumination and style. While you won’t need an Amazon Alexa to control these lights, you’ll still enjoy the credit of crafting a custom outdoor lighting design. As you embark on this project, keep in mind that working with glass and flame requires adherence to safety terms of service. Let’s explore how to select the right materials and securely install your tiki torches for a stunning evening glow.
Select and Prepare Suitable Planters and Torches
Choose sturdy planters that can support the weight of soil, plants, and tiki torches for your outdoor lighting project. Opt for materials like concrete, ceramic, or heavy-duty plastic that can withstand outdoor conditions and provide stability. Consider the design of your home and existing landscaping when selecting planter styles to ensure a cohesive look.
Prepare your planters by drilling drainage holes if needed and adding a layer of gravel at the bottom for proper water management. When selecting tiki torches, look for models with long, sturdy poles that can be securely anchored in the planter soil. If you’re planning on hanging your tiki torch planters, choose lightweight options and ensure you have proper support from your roof or pergola structure.
Install Tiki Torches Into Planters Securely
Secure your tiki torches in the planters by burying the poles deep into the soil, ensuring they stand straight and sturdy. Add rocks or gravel around the base of the torch for extra stability, creating a beam of light that enhances your outdoor beauty without compromising safety.
Consider your energy star rating when selecting torch fuel, and keep an inventory of supplies on hand for easy refills. Familiarize yourself with your local fire safety policy to ensure your tiki torch planters comply with regulations while providing a warm, inviting glow to your outdoor space.
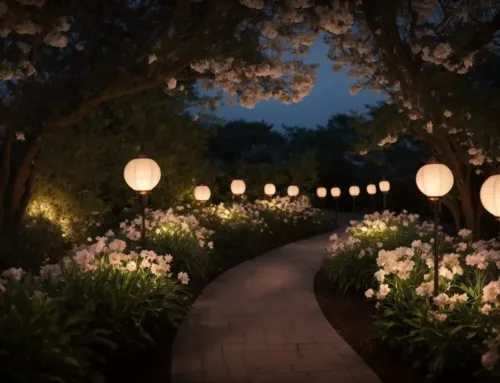
Building a Charming Illuminated Pathway With LEDs

Transform your outdoor space with a mesmerizing LED-lit pathway. This project combines the practicality of security lighting with the aesthetic appeal of custom landscape design. Unlike static furniture or kitchen fixtures, these lights create a dynamic, inviting ambiance that guides guests through your yard. By using energy-efficient LEDs instead of traditional steel or iron fixtures, you’ll craft a sustainable lighting solution that enhances your home’s curb appeal while providing essential illumination for safe navigation after dark. Let’s begin by planning the perfect layout for your new pathway lighting.
Plan the Layout of Your Pathway Lighting
Map out your pathway lighting design, considering the natural flow of foot traffic from your driveway or garage to your home’s entrance. Sketch a layout that highlights key features in your yard while providing adequate illumination for safety.
Choose LED bulbs in warm tones to create a welcoming atmosphere, and space them evenly along the path. Consider incorporating copper elements for a touch of elegance that complements your outdoor space. Here’s a quick guide to planning your layout:
- Measure your pathway and determine the number of lights needed
- Mark light positions with stakes or flags
- Account for obstacles like trees or large rocks
- Plan for power source locations (solar or wired)
- Consider adding accent lighting for landscaping features
Conclusion
Easy DIY outdoor lighting projects transform your outdoor spaces, enhancing both aesthetics and functionality. These projects, from solar mason jar luminaries to LED-lit pathways, offer cost-effective and eco-friendly alternatives to traditional lighting solutions. By crafting custom lighting fixtures, you create unique ambiances that reflect your personal style while improving safety and usability after dark. These DIY projects not only add value to your home but also provide a sense of accomplishment and the flexibility to adapt your outdoor lighting as your needs change.